Once you buy a tiny house, it’s only a matter of time before it arrives, and like with a new baby, you’ll want to be ready!
Today’s tiny house blog post will tell you everything you need to know about building a tiny house parking pad, buying tiny home setup supplies, connecting a tiny house to utilities, leveling a tiny house, and how and when to hire professional tiny home installation services.
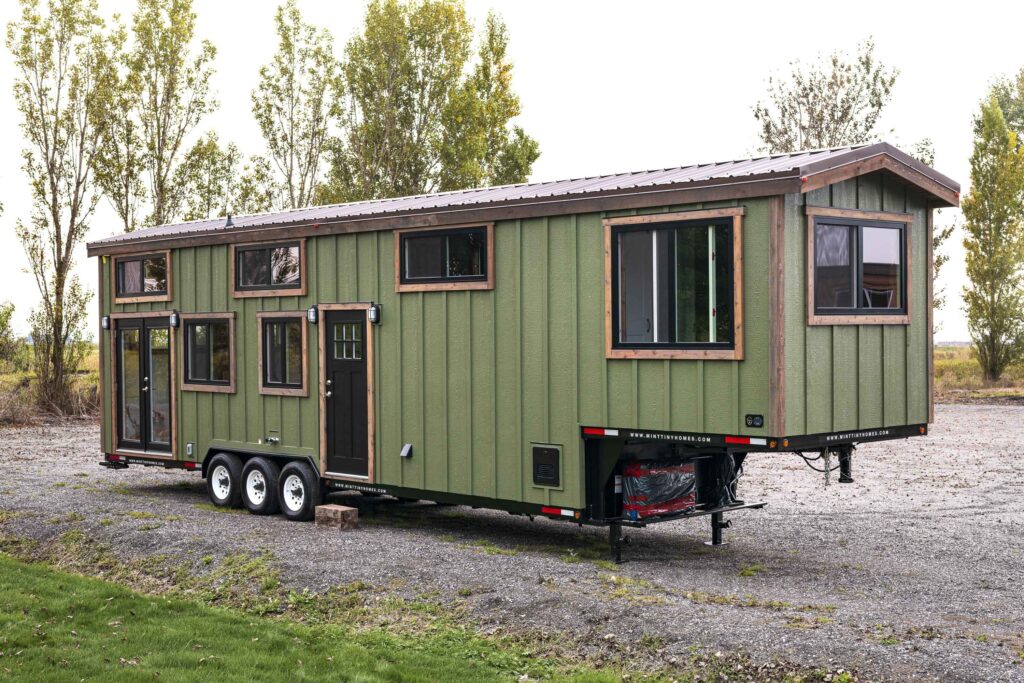
This is your official tiny home installation guide.
The first step to preparing for a tiny home’s arrival is to prepare mentally.
This day will likely have a few stressful moments and trips to the hardware store, but connecting a tiny house to utilities and levelling a home is easier than you think! If you’re decently handy, in a mild climate, and have a friend or two who can pitch in, you’ll be just fine.
So while you’ll want to do your part to prepare your tiny house parking pad, and gather the supplies to connect a tiny home to utilities, please don’t panic about tiny home delivery day.

“The firmer the better” is the rule when building a tiny house parking pad. Crushed gravel works, but parking a tiny house on a cement slab is better.
While you technically can park a tiny house on hard-packed dirt or grass, it’s not a good idea. Tiny homes are heavy, and your house will likely start to sink and require regular levelling. You also risk tire rot.
When laying your tiny house parking pad, plan for a minimum of five extra feet on each end (where the trailer hitch will be), and three extra feet on the sides. This will allow room for levelling
blocks and space in case the truck isn’t lined up perfectly. (Which it never is!)
We’ll tackle connecting a tiny house to utilities in a minute, but first, let’s discuss how to install tiny home utilities.
This is one step where you’ll want to bring in professionals. You’ll need:
Installing a tiny house in your tiny house parking space is going to take a few supplies! First and foremost, you’ll need tools.
Tools for Tiny Home Installation
Supplies for Tiny Home Installation
Utility Parts for Tiny Home Installation
Levelling a tiny house can be intimidating, but it’s probably easier than you think.
Here’s how to level a tiny house in four easy steps:
Connecting a Tiny House to Sewer
Begin the tiny house installation process by connecting your home to sewer or septic. After all, once you connect to water, you’ll need somewhere for it to go!
RV sewer adaptors are pretty easy and universal. Just screw it in, add a sewer splitter if you have more than one hose, and twist and click the hose(s) into place.
Connecting a Tiny House to Water
To connect your tiny house to water, simply screw one end of your potable water hose to the water source and the other end to your tiny house.
This process is straightforward, but it’s common to experience leaks the first time you do it. If you do experience leaks, try the tips below:
Connecting a Tiny House to Electricity
Begin by flipping the breaker on your electrical source OFF for safety.
A tiny home electrical cord will plug into your house like a lamp. Use the accompanying plastic ring to screw the plug into the house for a secure fit. (It will make sense when you’re looking at it!)
The other end of the cord will plug into your electrical source. Be sure to use a surge protector to protect your appliances.
Flip on the breaker, and you’ll be good to go!
Parking a tiny house, leveling a tiny house, and connecting a tiny home to utilities are pretty straightforward activities, but bad weather, sloping terrain, and tight tiny house parking spaces can add complications. So don’t hesitate to seek professional tiny home installation services if you aren’t feeling confident!
Here are a few types of people you may want to call:
Now that you’re an expert on tiny house installation, all you need is a tiny home to install!
Our team is standing by to help you choose the best tiny home layout, and answer your questions. So just use the link below to schedule a time to chat!
Thanks for reading our tiny house blog; we can’t wait to meet you!


